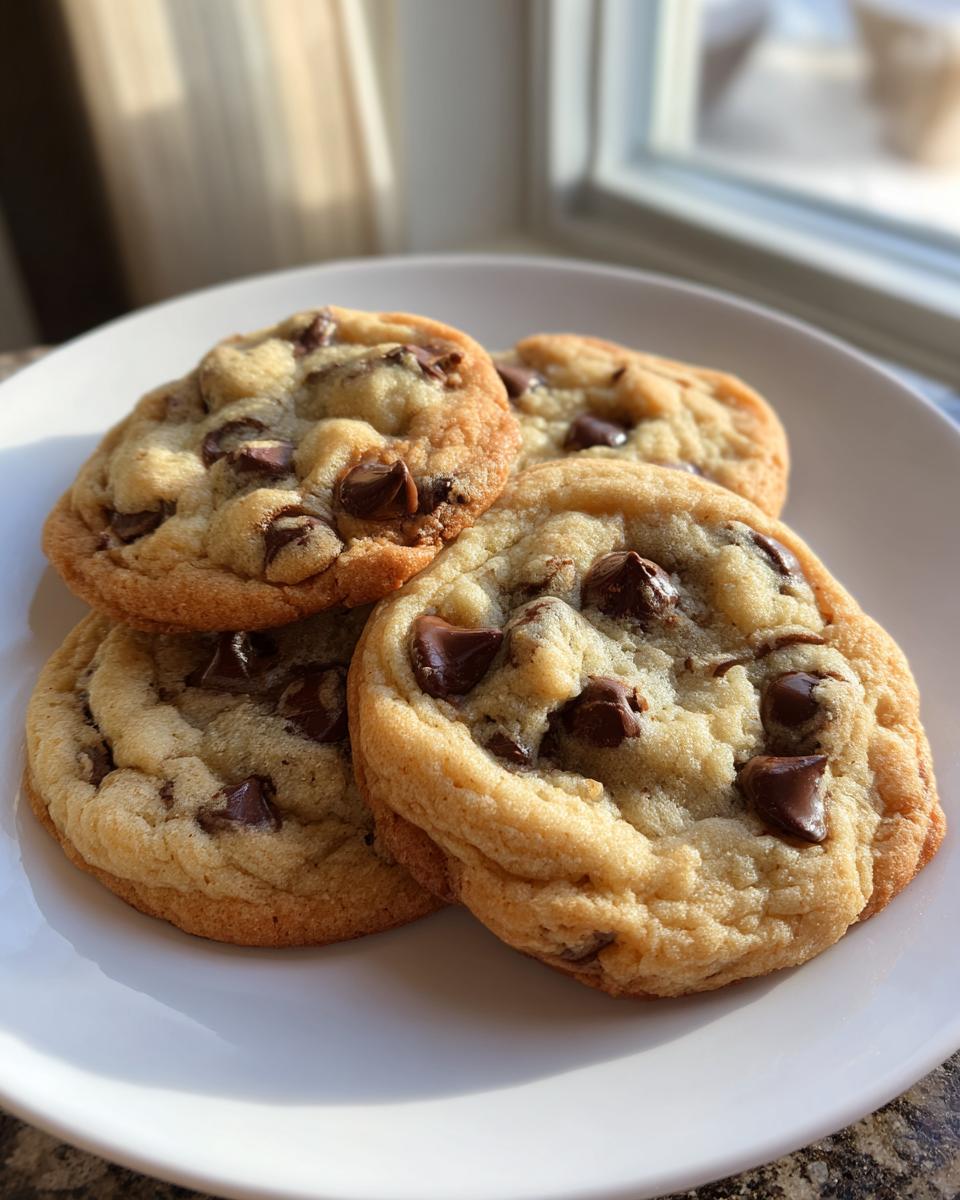
There’s just something magical about the holidays, isn’t there? The twinkling lights, the cozy fires, and of course, the irresistible smell of freshly baked cookies wafting through the house. For years, my absolute favorite holiday treat has been Neighbor Judy’s Perfect Chocolate Chip Cookies for Christmas. Seriously, these aren’t just any chocolate chip cookies; Judy manages to pack in this subtle, warm blend of cinnamon and nutmeg that just screams ‘holiday cheer.’ They’re the kind of cookies that make everyone feel instantly festive and happy. Trust me, once you try them, they’ll become your go-to for Christmas too!
Why You’ll Love Neighbor Judy’s Perfect Chocolate Chip Cookies for Christmas
These cookies are a total win-win for the holidays! You’ll love them because:
- They’re surprisingly easy to whip up, even when you’re swamped.
- That hint of cinnamon and nutmeg makes them taste like Christmas in every bite.
- Everyone, I mean *everyone*, devours them.
- They’ve got that special festive touch that makes them perfect for sharing!
Easy Holiday Baking with Neighbor Judy’s Perfect Chocolate Chip Cookies for Christmas
Seriously, the holidays are hectic enough, right? That’s why I adore how simple Neighbor Judy’s Perfect Chocolate Chip Cookies for Christmas are to make. Even if you’re not usually a baker or if you’re short on time, these cookies are totally foolproof. Judy’s recipe is so straightforward; it’s all about combining a few key ingredients. You get that amazing, festive flavor and perfect texture without any fuss. They’re the easiest way to bring that homemade holiday magic into your kitchen!
The Heart of the Matter: What Goes Into These Amazing Cookies
Okay, so here’s the breakdown of what you’ll need to whip up Neighbor Judy’s Perfect Chocolate Chip Cookies for Christmas. It’s all pretty standard stuff you probably have in your pantry, but the quality really makes a difference, you know? You’ll need 2 and 1/4 cups of all-purpose flour, 1 teaspoon of baking soda, and 1 teaspoon of salt to get the perfect texture and balance. But the real Christmas magic comes from 1 teaspoon of cinnamon and half a teaspoon of nutmeg – don’t skip those! Then, for pure richness, grab 1 cup (that’s two sticks!) of unsalted butter that’s been softened, 3/4 cup of granulated sugar, and 3/4 cup of packed brown sugar. Oh, and two large eggs and a teaspoon of vanilla extract are a must. And of course, you can’t forget 2 cups (about 12 ounces) of semi-sweet chocolate chips. If you’re feeling extra fancy, Judy says chopped pecans are totally optional but add a lovely crunch!
Essential Baking Ingredients
So, the flour is the base, giving our cookies structure. The baking soda is what makes them puff up just right, and the salt? It actually wakes up all the other flavors, making them taste even better. But the real stars here are the spices! That cinnamon and nutmeg are what give these cookies that unmistakable cozy Christmas vibe. They just smell like the holidays!
Sweeteners and Binders
Now, for the creamy, dreamy stuff. Softened butter is key – it needs to be soft enough to cream easily. That’s what makes the cookies tender. Using both granulated and brown sugar gives them this wonderful balance of sweetness and a slightly chewy texture. The brown sugar, especially, adds this lovely caramel note. Then you’ve got the eggs, which bind everything together and add richness, and vanilla extract just makes everything taste even more delicious and festive.
The Chocolate Chip and Nutty Crunch
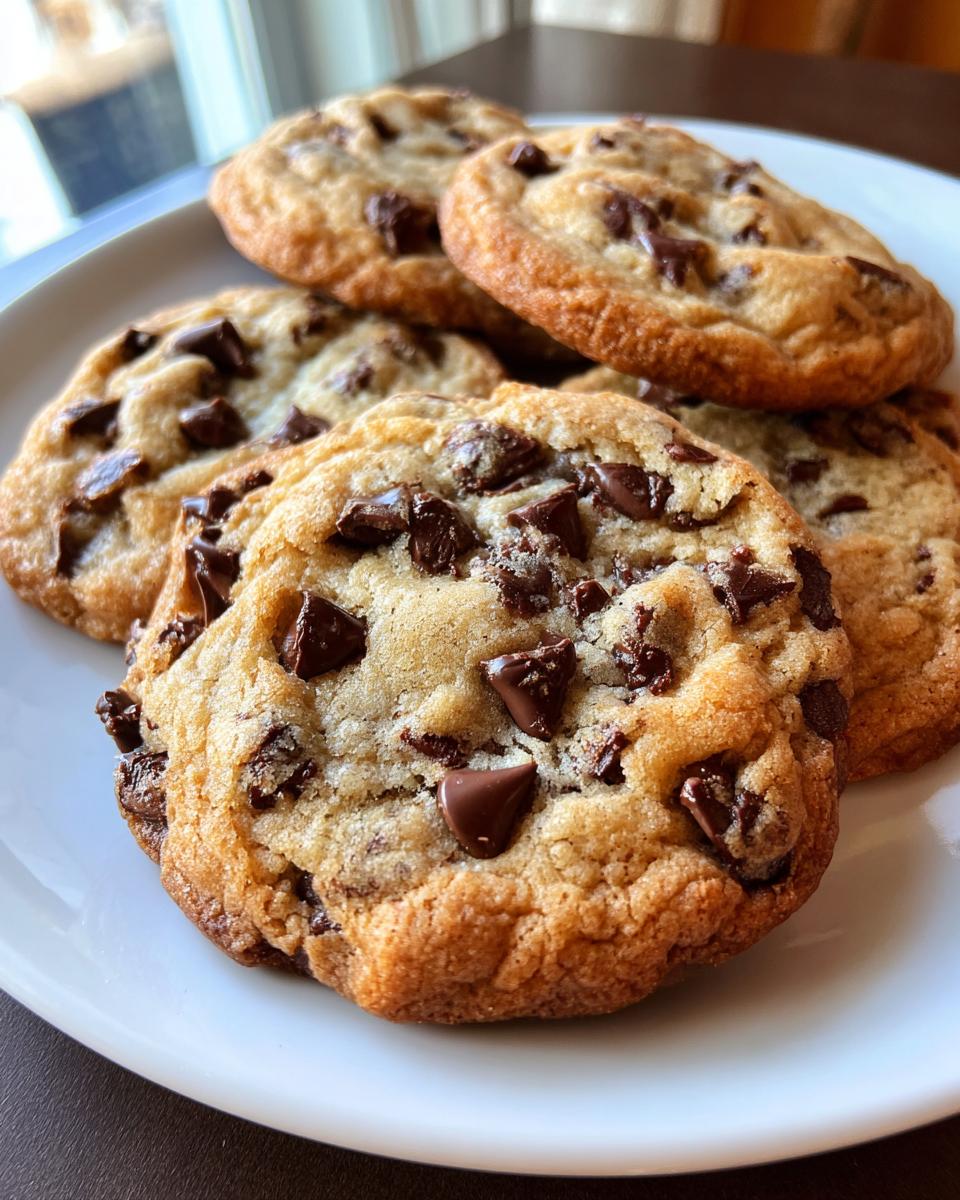
You absolutely need good quality semi-sweet chocolate chips here. They’re what make them chocolate chip cookies, after all! Judy likes to use about 12 ounces, which is a good amount. And if you’re a nut lover, or just want a little extra texture, adding a cup of chopped pecans is a fantastic idea. They toast up a bit in the oven and add another layer of flavor that’s just divine with the spices and chocolate.
How to Prepare Neighbor Judy’s Perfect Chocolate Chip Cookies for Christmas
Alright, let’s get these amazing Neighbor Judy’s Perfect Chocolate Chip Cookies for Christmas into the oven! Judy always starts by getting her oven nice and toasty. So, first things first, preheat your oven to 375°F (that’s 190°C). While that’s heating up, grab a small bowl and whisk together your flour, baking soda, salt, and those all-important Christmas spices – the cinnamon and nutmeg. Whisking them together first makes sure they’re evenly distributed, so you don’t get a bite that’s *too* spicy. It’s a small step, but Judy swears it makes all the difference!
Preheating and Dry Ingredient Preparation
So, the oven needs to be at the right temperature right from the start for these cookies to bake up perfectly, hence the preheating to 375°F (190°C). Then, in a separate little bowl, just give your flour, baking soda, salt, cinnamon, and nutmeg a good whisk. You want to make sure those spices are spread out evenly through the flour so every cookie gets that lovely holiday flavor.
Creaming Butter and Sugars
Now for the magic part that makes them so wonderfully tender and a little bit chewy! In a big bowl, you’re going to cream together your softened butter, granulated sugar, and that lovely packed brown sugar. You really want to beat them until they’re light and fluffy. Judy uses a stand mixer for this, but you can totally do it with a hand mixer or even a sturdy wooden spoon if you’re feeling energetic! It should look pale and airy, almost like whipped cream. This step is crucial for the cookie’s texture!
Incorporating Wet Ingredients
Once your butter and sugars are all creamy and dreamy, it’s time to add the eggs. Beat them in one at a time. Make sure the first egg is fully mixed in before you add the second one. This helps everything combine smoothly. Then, stir in that teaspoon of vanilla extract. It just adds that extra little bit of warmth and flavor that makes these cookies so special.
Combining Wet and Dry Mixtures
Okay, here’s where it all comes together! Gradually add those dry ingredients you whisked earlier into the creamed butter mixture. Mix it on low speed or stir *just* until everything is combined. Seriously, don’t overmix! You don’t want to develop too much gluten, or your cookies might turn out tough. A few streaks of flour are totally fine; they’ll disappear when you add the chocolate chips.
Adding the Stars: Chocolate Chips and Pecans
This is the best part, right? Gently fold in your semi-sweet chocolate chips and those optional chopped pecans. You want to do this by hand with a spatula or wooden spoon. Just fold them in until they’re evenly distributed throughout the dough. Try not to stir too much at this point; we’re just incorporating them gently.
Shaping and Baking Neighbor Judy’s Perfect Chocolate Chip Cookies for Christmas
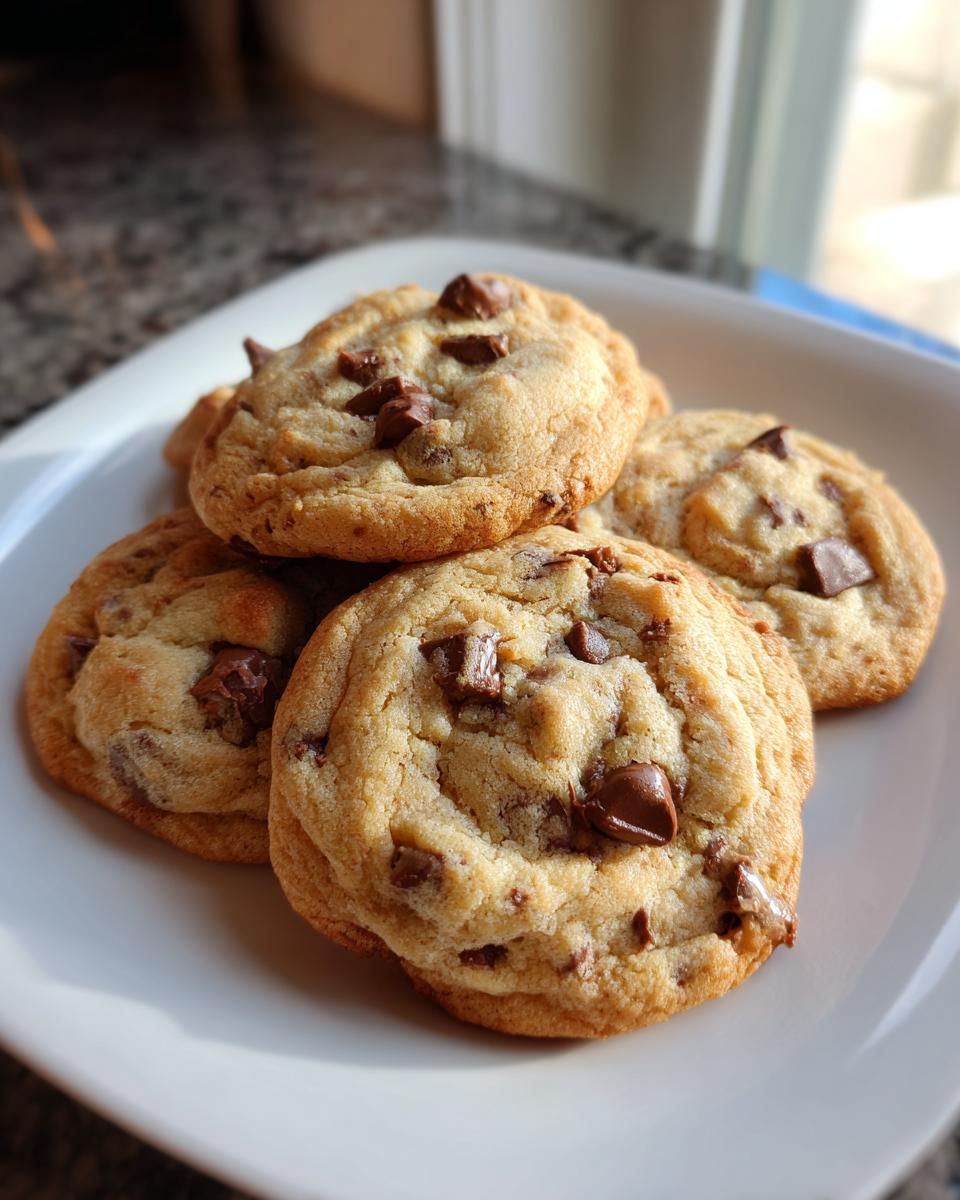
Now it’s time to get them ready for the oven! Drop rounded tablespoons of the dough onto ungreased baking sheets. Judy always says to give them a little space because they will spread a bit. Bake them for about 9 to 11 minutes. You’re looking for them to be golden brown around the edges, but still a little soft in the center. That’s the secret to that perfect chewy-crisp texture!
Cooling and Final Touches
Once they’re out of the oven, let the cookies cool on the baking sheets for just a couple of minutes. This lets them set up a bit so they don’t fall apart. Then, carefully transfer them to wire racks to cool completely. This is important for getting that nice texture. Once they’re totally cool, they’re ready to be enjoyed or stored!
Tips for Perfect Neighbor Judy’s Perfect Chocolate Chip Cookies for Christmas
Want to make sure your Neighbor Judy’s Perfect Chocolate Chip Cookies for Christmas turn out absolutely spot-on? Judy has a few tricks up her sleeve! For thicker, chewier cookies that don’t spread too much, try chilling the dough for at least 30 minutes before baking. This really helps them hold their shape. Also, remember that ratio of brown sugar to granulated sugar is key for chewiness – a bit more brown sugar means a chewier cookie. And always make sure your butter is softened, not melted! It makes a HUGE difference in how the dough comes together and the final texture.
Achieving the Perfect Texture
The secret to that amazing texture really lies in a couple of key steps. First, don’t skimp on creaming that butter and sugar until it’s super light and fluffy; it whips air into the dough, which is crucial. Then, when you’re cooling them, letting them sit on the baking sheet for a couple of minutes before moving them to a wire rack helps them set perfectly. It prevents them from getting too crispy or too crumbly!
Flavor Enhancements and Variations
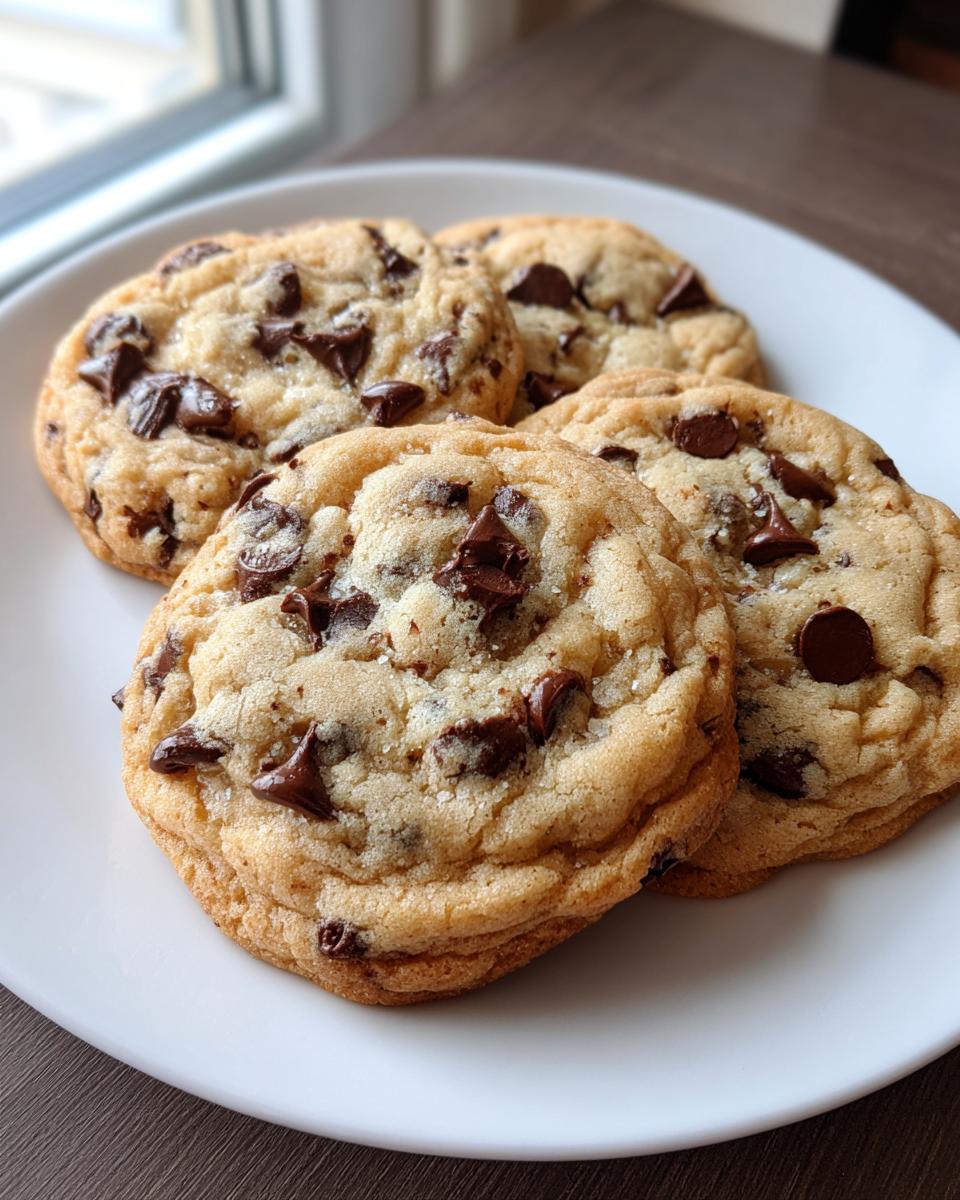
If you’re feeling adventurous, you can totally play around with the chocolate chips! Dark chocolate or even milk chocolate chips work great too. And you know, a little sprinkle of flaky sea salt on top of the dough *before* baking? Oh my goodness, it balances the sweetness so beautifully and makes the chocolate and spice flavors pop even more. You could even add a tiny bit more cinnamon or nutmeg if you really want that Christmas punch!
Serving Suggestions
These Neighbor Judy’s Perfect Chocolate Chip Cookies for Christmas are just divine on their own, but they’re even better with a cold glass of milk, aren’t they? Or maybe a warm mug of coffee or hot chocolate? They also look absolutely gorgeous arranged on a festive platter as part of your holiday dessert spread. Seriously, they disappear fast, so make plenty!
Storage and Reheating Instructions
To keep Neighbor Judy’s Perfect Chocolate Chip Cookies for Christmas tasting just as amazing as when they’re fresh, store them in an airtight container at room temperature. They’re usually best within 3-4 days, but honestly, they rarely last that long! If you want to warm them up a bit, just pop a cookie on a microwave-safe plate for about 10-15 seconds. It makes them extra gooey and delicious again, just like they came right out of the oven!
Frequently Asked Questions about Neighbor Judy’s Perfect Chocolate Chip Cookies for Christmas
Got questions about Neighbor Judy’s Perfect Chocolate Chip Cookies for Christmas? I totally get it! People always ask if they can swap out ingredients. While Judy’s recipe is pretty perfect as is, you could try using different chocolate chips, like dark or milk chocolate, if you prefer. Some folks even add a pinch more spice if they love that festive flavor! A common question is about dough consistency – if it seems too soft, chilling it for about 30 minutes really helps. And yes, you can absolutely make these Christmas cookies ahead of time! Just store the dough (or baked cookies) properly. If your cookies are spreading too much, it might be because your butter was too soft, or your oven wasn’t quite hot enough. For that perfect chewy texture, don’t overbake them – pull them out when the edges are golden but the centers still look a little soft. Storing these spiced cookies in an airtight container at room temperature is the best way to keep them fresh for days!
Nutritional Information
Just a friendly heads-up! The nutritional details you see for Neighbor Judy’s Perfect Chocolate Chip Cookies for Christmas are estimates. Things like the specific brands of ingredients you use, or even how much you might sneak from the dough bowl (we’ve all been there!), can slightly change the final numbers. So, think of these as a general guide rather than exact figures!
Print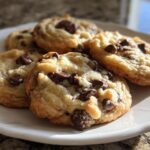
Perfekte kerstkoekjes Judy: 1 smaakvol recept
- Total Time: 30 minutes
- Yield: Approximately 3 dozen cookies 1x
- Diet: Vegetarian
Description
Perfect chocolate chip cookies with a hint of Christmas spice.
Ingredients
- 2 1/4 cups all-purpose flour
- 1 teaspoon baking soda
- 1 teaspoon salt
- 1 teaspoon ground cinnamon
- 1/2 teaspoon ground nutmeg
- 1 cup (2 sticks) unsalted butter, softened
- 3/4 cup granulated sugar
- 3/4 cup packed brown sugar
- 2 large eggs
- 1 teaspoon vanilla extract
- 2 cups (12 oz) semi-sweet chocolate chips
- 1 cup chopped pecans (optional)
Instructions
- Preheat oven to 375°F (190°C).
- In a small bowl, whisk together flour, baking soda, salt, cinnamon, and nutmeg.
- In a large bowl, cream together softened butter, granulated sugar, and brown sugar until light and fluffy.
- Beat in eggs one at a time, then stir in vanilla extract.
- Gradually add the dry ingredients to the wet ingredients, mixing until just combined.
- Stir in chocolate chips and pecans (if using).
- Drop rounded tablespoons of dough onto ungreased baking sheets.
- Bake for 9 to 11 minutes, or until golden brown around the edges.
- Let cookies cool on baking sheets for a few minutes before transferring to wire racks to cool completely.
Notes
- For chewier cookies, use more brown sugar than granulated sugar.
- Chill the dough for at least 30 minutes for thicker cookies that spread less.
- Store cooled cookies in an airtight container at room temperature.
- Prep Time: 20 minutes
- Cook Time: 10 minutes
- Category: Dessert
- Method: Baking
- Cuisine: American
Nutrition
- Serving Size: 1 cookie
- Calories: 150
- Sugar: 12g
- Sodium: 75mg
- Fat: 8g
- Saturated Fat: 5g
- Unsaturated Fat: 3g
- Trans Fat: 0g
- Carbohydrates: 18g
- Fiber: 1g
- Protein: 2g
- Cholesterol: 25mg
Keywords: chocolate chip cookies, Christmas cookies, holiday baking, spiced cookies, easy cookies