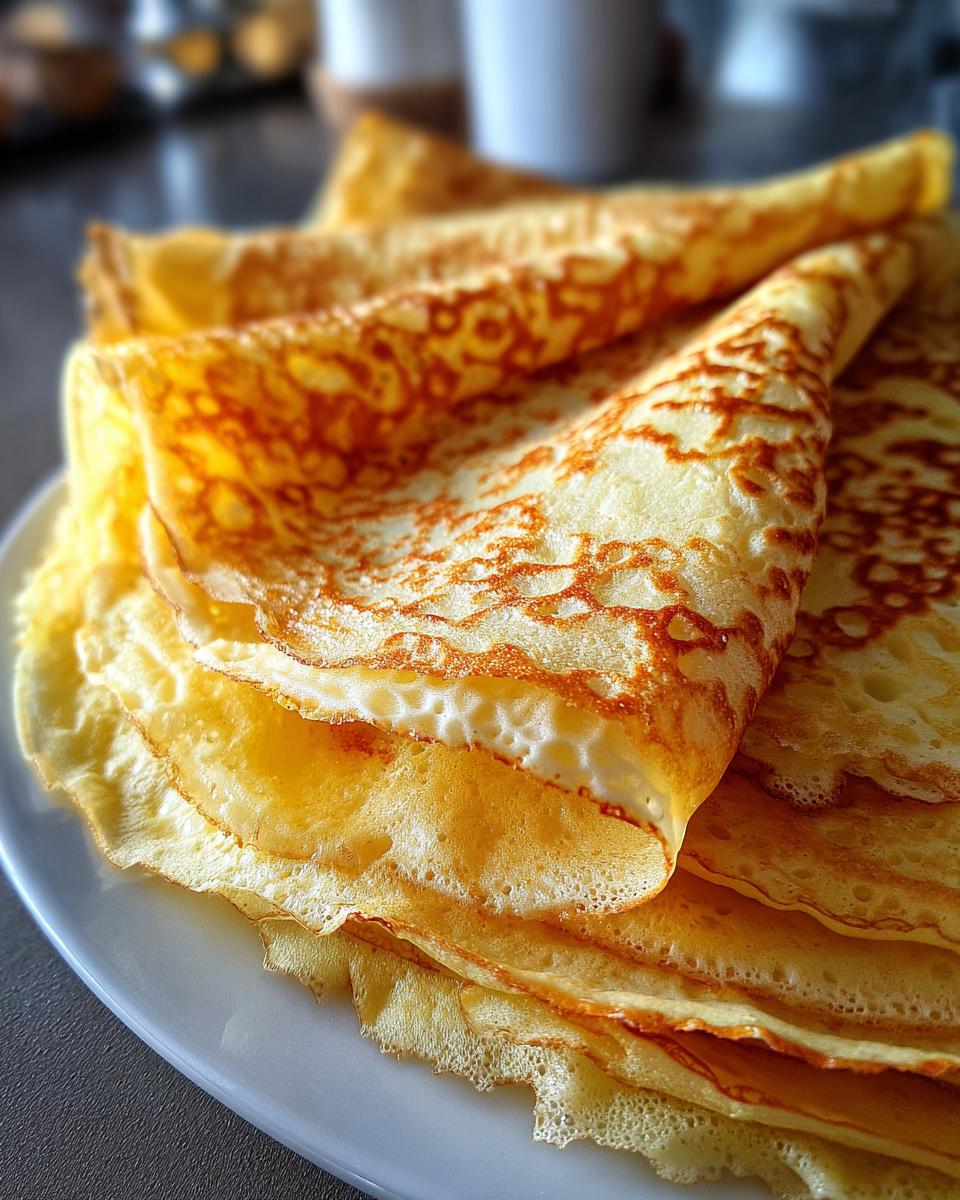
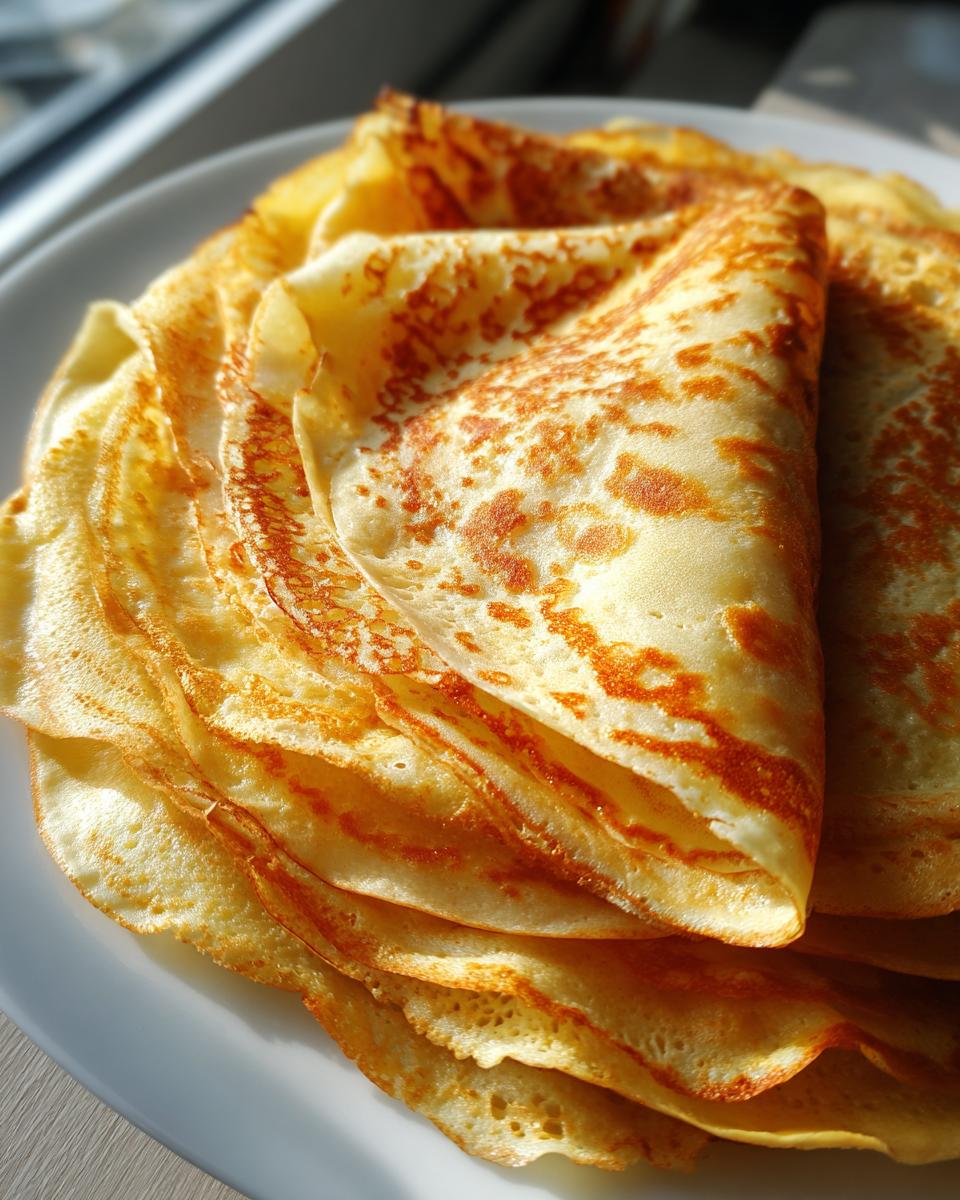
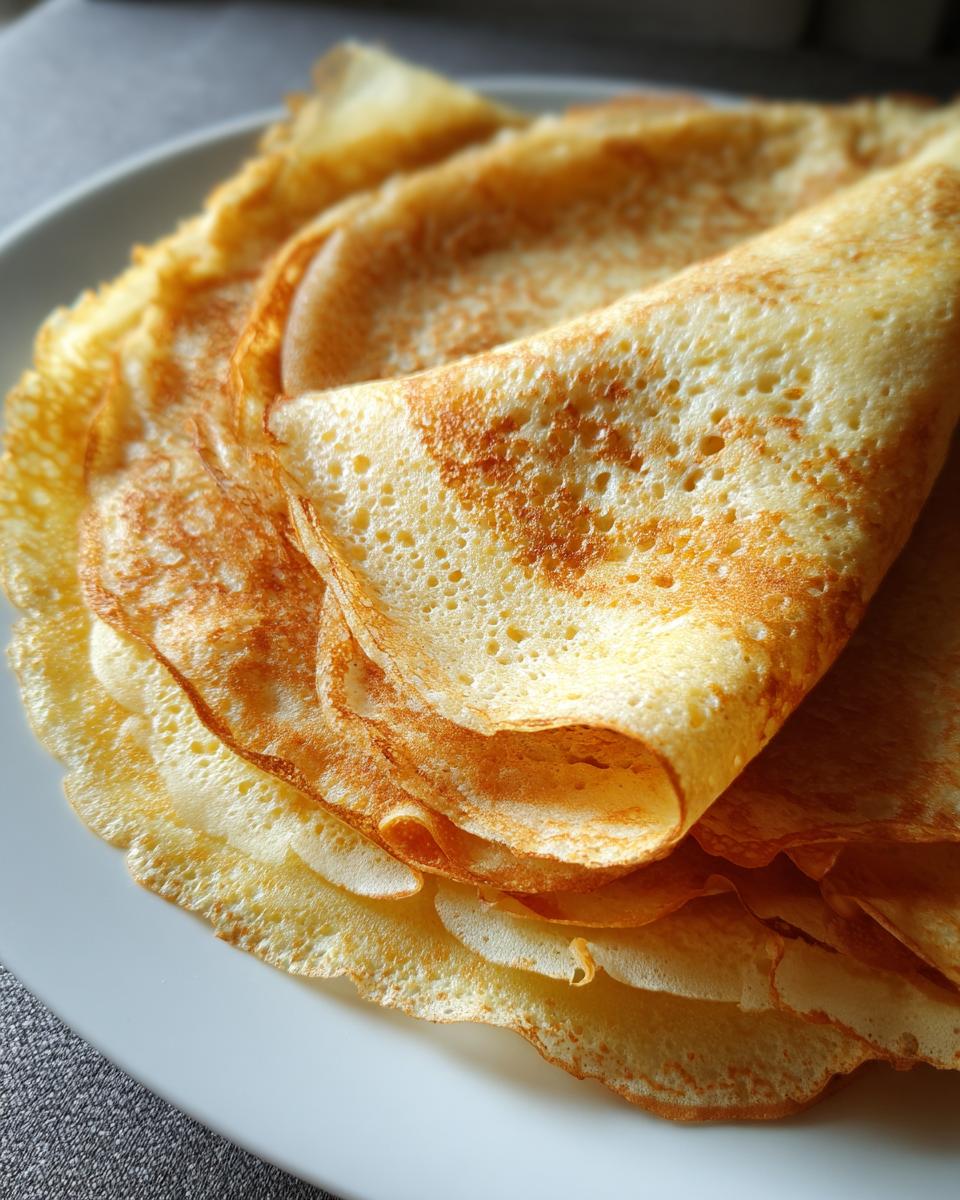
Oh, crepes! They just feel so fancy, don’t they? Like something you’d only get at a cute little French cafe. But guess what? Making them at home is actually SO ridiculously easy, and I’m here to spill all my secrets! Forget those floppy, sad attempts you might have had. This is the recipe that changed everything for me. We’re talking perfectly thin, wonderfully tender crepes that are ready in a flash. Seriously, you’ll be whipping these up for breakfast, lunch, and dinner!
Gathering Your Homemade Crepes Ingredients
Alright, let’s get down to business with what you’ll need for these beauties! It’s a pretty simple list, so don’t stress. Having everything measured out and ready to go makes the whole process smooth sailing. Trust me, that’s half the battle won!
Flour Power for Homemade Crepes
First up, we’ve got our foundation: 1 cup of all-purpose flour. This is what gives our crepes their structure. You don’t need anything fancy, just your regular trusty flour from the pantry. Make sure it’s not packed down too tightly in the measuring cup; give it a gentle scoop and level it off.
Eggs and Liquids for Creamy Homemade Crepes
Next, for that lovely, creamy texture, we’re using 2 large eggs. They’re the magic binder! And then we have our liquids: 1/2 cup of milk and 1/2 cup of water. This combo is key for getting that super thin, delicate crepe. Some people use all milk, but I find this water and milk mix makes them just right – not too heavy, not too light.
The Finishing Touches for Perfect Homemade Crepes
Don’t forget a little something for flavor and richness! We need just 1/4 teaspoon of salt. It might seem small, but it really wakes up all the other flavors. And the final touch is 2 tablespoons of butter, melted. This gives the crepes a gorgeous, subtle richness and helps them cook up beautifully golden. Make sure it’s melted but not piping hot when you add it!
Mastering the Homemade Crepes Step by Step Technique
Okay, this is where the magic really happens! It’s not complicated, I promise. Just follow these steps and you’ll be a crepe pro in no time. The key is a smooth batter and a little bit of patience.
Preparing the Homemade Crepes Batter
First things first, grab a big bowl. We’re going to start by whisking together our dry ingredients: that 1 cup of all-purpose flour and the 1/4 teaspoon of salt. Just give them a quick whisk to make sure they’re all mixed up and there are no little flour clumps hiding.
Achieving the Perfect Batter Consistency
Now, in a *separate* bowl, whisk up your wet ingredients. This means your 2 large eggs, the 1/2 cup of milk, and the 1/2 cup of water. Whisk them until they’re nicely combined. Then, here’s the crucial part: gradually pour the wet ingredients into the dry ingredients while whisking with your other hand. Keep whisking until the batter is totally smooth. No lumps allowed! Seriously, no lumps. Once it’s smooth, gently stir in that 2 tablespoons of melted butter. This makes them so tender!
Resting the Homemade Crepes Batter
This step is a game-changer, and Grandma always insisted on it (okay, *I* insisted on it after reading it in my notes!). You’ll want to let that beautiful batter rest for about 30 minutes. You can do this right in the bowl, covered. It lets the flour really absorb all the liquid, which makes for much smoother, more delicate crepes. Don’t skip this if you can help it!
Heating and Oiling Your Pan for Homemade Crepes
While the batter is resting, get your pan ready. You want a lightly oiled griddle or a non-stick frying pan. Medium-high heat is your friend here. You don’t need a ton of oil, just a tiny bit to keep them from sticking. You can use a paper towel to spread a thin layer. You want the pan to be nice and hot, but not smoking!

Cooking Your First Homemade Crepes
Once the pan is hot and ready, give your batter a quick stir. Then, ladle about 1/4 cup of batter into the center of the pan. Immediately tilt the pan in a circular motion to spread the batter super thin. This is how you get those lovely, lacy edges! Let it cook for about 2 minutes. You’ll see the edges start to lift up a little, and the surface will look set, not wet.
Flipping and Finishing Your Homemade Crepes
Now for the fun part: flipping! You can use a thin spatula, or if you’re feeling brave, give it a little flick of the wrist. Cook the other side for just another minute. It doesn’t need as long as the first side. You’re just looking for a light golden color.
Repeating the Process for All Your Homemade Crepes
Slide that beautiful crepe onto a plate and repeat with the rest of the batter. You might need to re-oil the pan every few crepes, just a tiny bit. Keep the finished crepes covered with a clean kitchen towel or foil to keep them warm and soft while you finish the batch.
Tips for Success with Homemade Crepes Step by Step
Okay, so you’ve made it this far, and you’re ready to conquer the crepe! Here are a few of my little secrets to make sure every single crepe you make is just perfect. It’s all about those little details!
Achieving Thin and Even Homemade Crepes
The absolute key to a great crepe is that thinness, right? Make sure your batter isn’t too thick. If it feels a little too gloopy, just stir in another tablespoon or two of milk or water until it flows nicely off the ladle. When you pour it into the pan, don’t just plop it there – immediately tilt that pan in a circle! It’s like swirling paint, you want that batter to spread into a nice, even layer covering the whole bottom. Don’t be shy with the tilting!
Preventing Sticking and Browning Issues
Nobody wants a crepe stuck to the pan or burnt to a crisp! First, make sure your pan is properly preheated. It should be hot enough that a drop of water sizzles and evaporates quickly. For oiling, I like to use a spray oil or a pastry brush dipped in melted butter or oil. Just a *very* thin, even coating is all you need. Wipe out any excess with a paper towel. And keep an eye on that heat; if they’re browning too fast, turn it down just a smidge. Medium-high is usually perfect.
Troubleshooting Common Homemade Crepes Problems
Don’t panic if your first crepe is a little… wonky. Mine often are! It’s just the pan getting used to the heat and the batter. If your crepes are tearing when you flip them, it usually means they need to cook a little longer on the first side, or your batter might be too thin. If they’re coming out thick and puffy instead of thin, you might need to tilt the pan more vigorously or thin out the batter slightly. Practice makes perfect, and even a “perfectly imperfect” crepe tastes amazing!
Serving and Enjoying Your Homemade Crepes
Okay, the crepes are made, they smell amazing, and they’re ready to be transformed into something truly special! This is where you get to play chef and make them your own. The possibilities are endless, but here are a few ideas I absolutely love.
Delicious Homemade Crepes Filling Ideas
For a sweet treat, you can’t go wrong with fresh berries and a dollop of whipped cream. Or, try a drizzle of Nutella and some sliced bananas – pure heaven! Lemon juice and a sprinkle of sugar is a classic for a reason; it’s so bright and fresh. If you’re feeling a bit more decadent, some thinly sliced apples sautéed with cinnamon and a little brown sugar are divine. And for something savory? Ham and cheese is a fantastic option, or maybe some sautéed mushrooms and spinach with a little gruyere cheese! For a savory option, you might also enjoy our ham and cheese pastry.
Perfect Pairings for Homemade Crepes
These crepes are wonderful on their own, but they also love to be paired with other goodies. A simple cup of coffee or a nice hot chocolate is perfect for a sweet breakfast. If you’re going for a brunch vibe, maybe a mimosa or some fresh orange juice. For the savory versions, a light green salad on the side is just perfect. Enjoy!

Storing and Reheating Your Homemade Crepes
Got leftover crepes? Lucky you! Once they’ve cooled completely, lay them flat between sheets of parchment paper and pop them into an airtight container or a zip-top bag. They’ll stay good in the fridge for about 2-3 days. Reheating is super easy: just pop them in a dry non-stick pan over medium heat for about 30 seconds per side, or give them a quick 10-15 second zap in the microwave. They’ll be almost as good as fresh!
Frequently Asked Questions About Homemade Crepes Step by Step
Got questions about making these amazing homemade crepes? I’ve got you covered! These are the things people usually ask me, and I’m happy to share my tips.
Q: My first crepe always looks a bit messy. Is there a trick to getting perfect crepes right away?
A: Oh, totally! That first crepe is often just a test run for your pan and heat. Don’t worry about it being perfect. Just make sure your pan is nice and hot, and you’ve got that thin layer of batter spread quickly. After the first one, you’ll get the hang of it for the rest of the batch!
Q: Can I make the crepe batter ahead of time?
A: Yes, you absolutely can! That 30-minute rest is great, but you can actually pop the covered bowl of batter in the fridge for up to 24 hours. Just give it a good whisk before you use it, and you might need to add a splash more milk or water if it seems a bit too thick. It’s perfect for making ahead for brunch!
Q: My crepes are sticking to the pan. What am I doing wrong?
A: Sticking usually means one of two things: either your pan isn’t hot enough when you add the batter, or you need a *tiny* bit more oil or butter. Make sure the pan is properly preheated, and use a very thin layer of oil. A non-stick pan really does make a world of difference here, too. You got this!
Q: Can I make these crepes gluten-free?
A: While this recipe calls for all-purpose flour, you can often make gluten-free crepes by using a good quality gluten-free all-purpose flour blend. You might need to adjust the liquid slightly, so start with this recipe and see how the batter feels. It might take a little experimenting, but it’s definitely possible!
Understanding the Nutritional Aspects of Homemade Crepes
Just a little heads-up about the nutrition info! The numbers we’re talking about are just an estimate, of course. They can change depending on exactly what you use for your ingredients and how big you make your crepes. So, treat it as a general guide!


Homemade Crepes: 1 Easy Step Guide
- Total Time: 25 minutes
- Yield: 8-10 crepes 1x
- Diet: Vegetarian
Description
Learn how to make delicious homemade crepes with this easy step-by-step guide. Perfect for breakfast, brunch, or dessert.
Ingredients
- 1 cup all-purpose flour
- 2 large eggs
- 1/2 cup milk
- 1/2 cup water
- 1/4 teaspoon salt
- 2 tablespoons butter, melted
Instructions
- In a large bowl, whisk together the flour and salt.
- In a separate bowl, whisk the eggs, milk, and water.
- Gradually add the wet ingredients to the dry ingredients, whisking until smooth.
- Stir in the melted butter.
- Heat a lightly oiled griddle or frying pan over medium-high heat.
- Pour or scoop the batter onto the griddle, using approximately 1/4 cup for each crepe. Tilt the pan to spread the batter thinly.
- Cook for about 2 minutes, or until the edges start to lift.
- Flip the crepe and cook for another minute.
- Repeat with the remaining batter.
Notes
- For thinner crepes, add a little more milk or water.
- Let the batter rest for 30 minutes for a smoother texture.
- Serve with your favorite fillings like fruit, whipped cream, or chocolate sauce.
- Prep Time: 10 minutes
- Cook Time: 15 minutes
- Category: Dessert/Breakfast
- Method: Pan-Frying
- Cuisine: French
Nutrition
- Serving Size: 1 crepe
- Calories: 100
- Sugar: 2g
- Sodium: 100mg
- Fat: 5g
- Saturated Fat: 2g
- Unsaturated Fat: 3g
- Trans Fat: 0g
- Carbohydrates: 10g
- Fiber: 0g
- Protein: 3g
- Cholesterol: 30mg
Keywords: crepes, homemade crepes, french crepes, easy crepes, breakfast, dessert, step by step crepes
