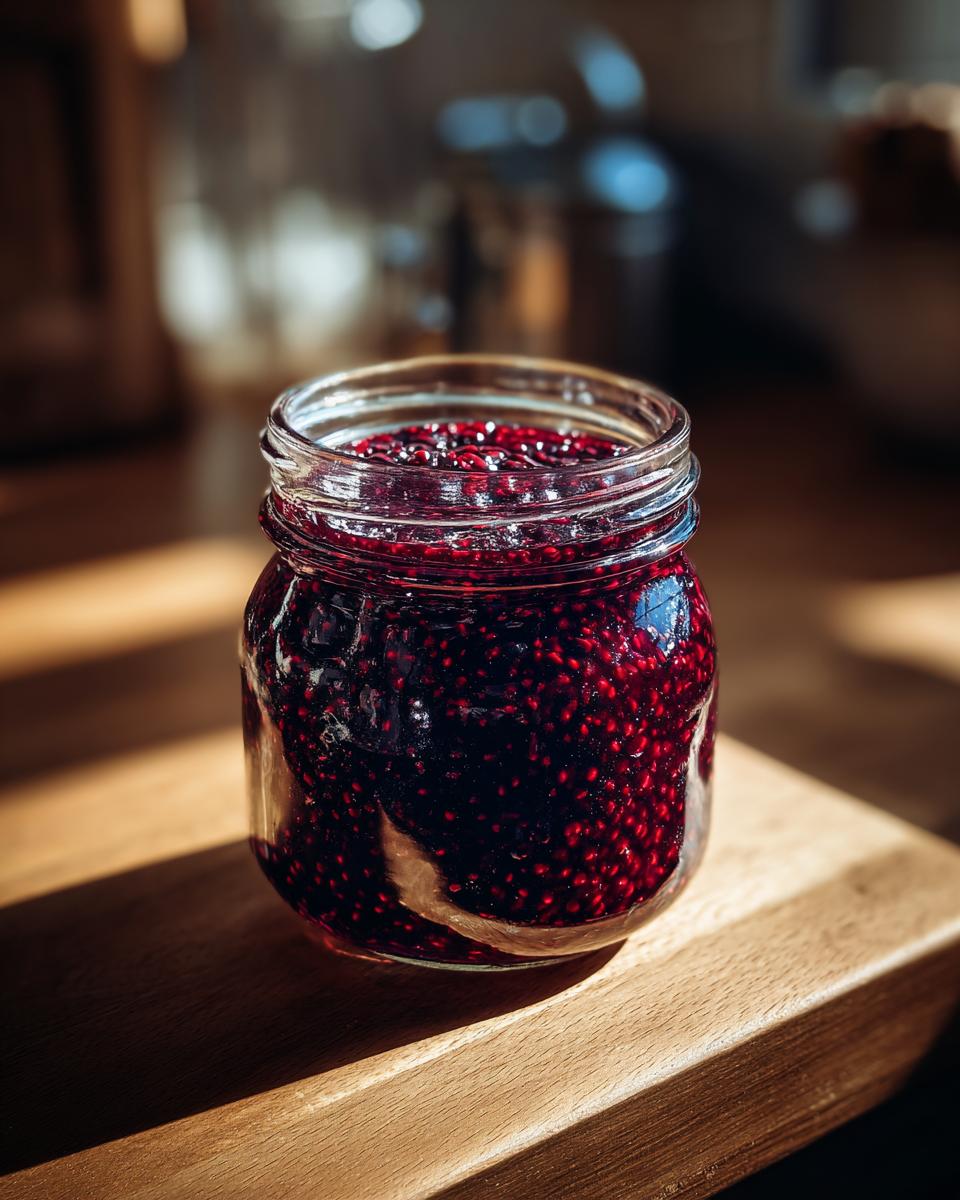
There’s just something magical about a jar of homemade jam, isn’t there? That perfect spoonful of sweetness, a burst of fruity goodness, all ready to top your morning toast or a warm scone. If you’re looking for that exact feeling, then my Delightful Blackberry Jam Recipe For Sweet Mornings is exactly what you need! I remember picking blackberries with my grandma when I was tiny, our fingers stained purple for days, and that taste… well, it’s stuck with me ever since. This recipe isn’t fancy, and that’s the beauty of it. It’s simple, it’s foolproof, and it makes the most incredible jam that’ll make every morning feel a little bit special. Let’s get that pot bubbling!
Why You’ll Love This Delightful Blackberry Jam Recipe
Honestly, why wouldn’t you love making your own jam? It’s so rewarding, and this recipe is a total winner:
- Super Easy to Make: Seriously, if you can stir, you can make this jam! No complicated techniques, just simple steps.
- Incredible Flavor: That fresh blackberry taste just pops! It’s so much better than anything store-bought.
- So Versatile: Perfect on toast, scones, yogurt, or even swirled into a cake batter. It’s a little jar of magic!
- The Satisfaction Factor: There’s nothing quite like pulling out a jar of your own homemade jam. It just feels good.
Ingredients for Your Delightful Blackberry Jam Recipe
Alright, here’s what you’ll need to get this jam party started. It’s a pretty short list, which is always a good sign for an easy recipe, right? You’ll want to grab:
- 4 cups of the freshest blackberries you can find – the brighter and plumper, the better!
- 2 cups of granulated sugar. This is what makes it jammy and sweet.
- 1/4 cup of fresh lemon juice. Don’t skip this! It brightens up the flavor and helps everything thicken up just right.
That’s literally it! See? Simple!
Essential Equipment for Making Blackberry Jam
Okay, so before we dive into all that bubbling goodness, let’s chat about what you’ll need to have on hand. You don’t need a fancy kitchen for this! Just a good, sturdy large pot (a non-stick one is nice, but any big one will do), some clean jars and lids for all that yummy jam, a ladle for transferring it all, and maybe a canning funnel if you have one – it makes filling those jars SO much tidier. Trust me, having these ready makes the whole process smoother!
Step-by-Step Guide to Your Delightful Blackberry Jam Recipe
Alright, butterfingers, let’s get down to business! Making this jam is a bit like a delicious science experiment, and honestly, the most fun part is watching it transform into that glorious, thick, fruity spread. Don’t worry, it’s really straightforward. Just follow these steps, and you’ll be spooning this goodness onto everything in no time!
Preparing the Blackberries and Pot
First things first, give those gorgeous blackberries a gentle rinse under cool water. You just want to wash off any dust or little bits, nothing too aggressive! Pick out any stray stems you see. Then, into your nice big pot they go, along with the sugar and that bright lemon juice. Easy peasy, right?
Cooking and Thickening the Blackberry Jam
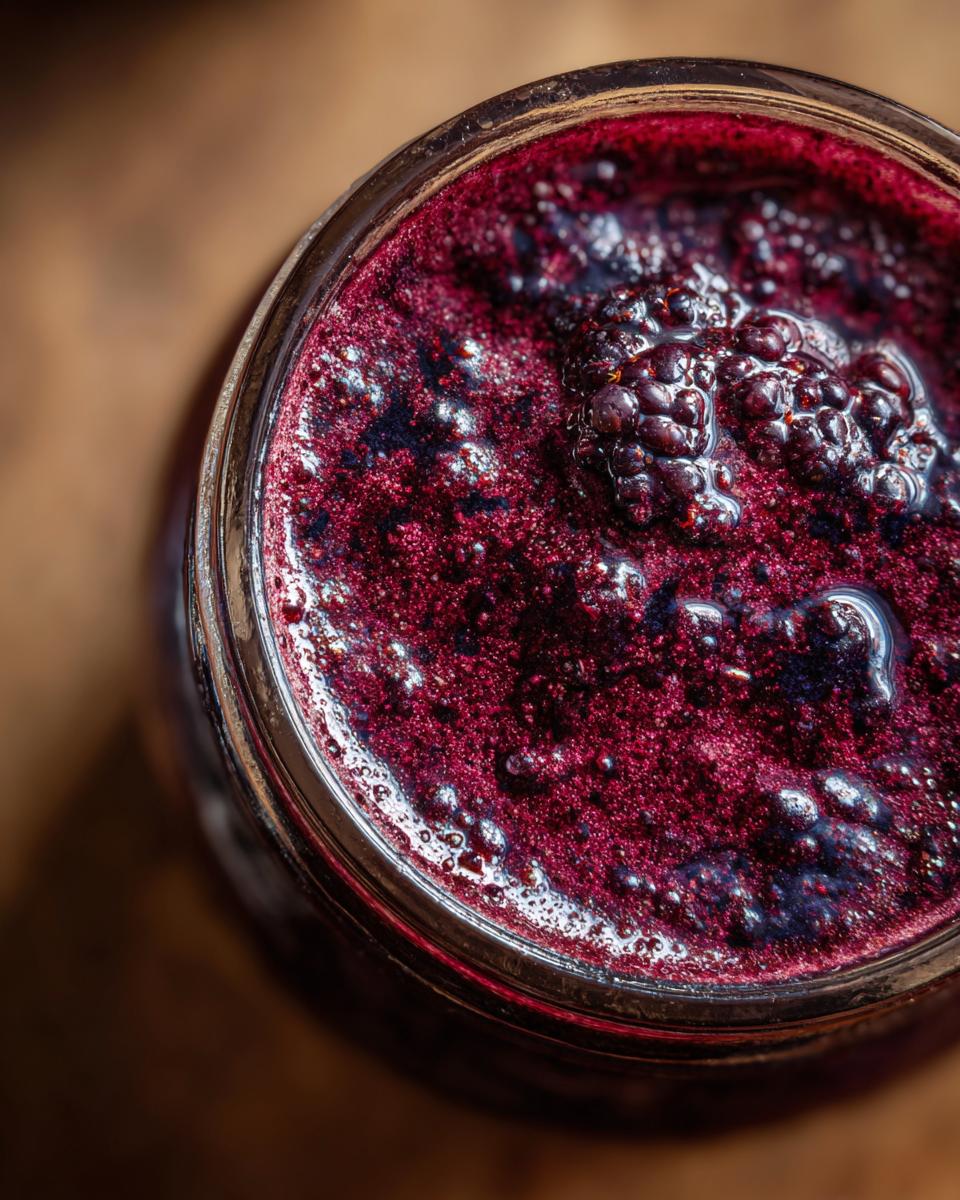
Now, we’ll get this party started on the stove. Turn the heat to medium and give everything a good stir until all that sugar disappears into the fruit mixture. You won’t see any grainy bits anymore. Once it’s dissolved, crank the heat up to bring it to a rolling boil – like a happy little lava flow! Then, turn it down to a simmer. This is where the magic happens! Let it bubble away gently for about 20 to 30 minutes. You’ll need to stir it pretty often so it doesn’t stick or boil over (oops!). The jam is ready when it gets nice and thick. The best way to tell is the plate test: pop a small spoonful onto a plate you’ve chilled in the freezer for a few minutes. If it gels up and doesn’t run right off, it’s set! If not, let it simmer a bit longer.
Sterilizing Jars and Filling the Jam
While your jam is doing its thing, let’s get those jars ready. This is super important for keeping your jam safe and sound. I usually pop mine in a hot oven (around 225°F or 107°C) for at least 10 minutes, or give them a good scrub and boil them in water. Make sure they are warm when you ladle the VERY hot jam into them. Use your ladle and a canning funnel if you have one – it really helps keep the edges clean! Fill them up, but leave about a quarter of an inch of space at the top. Then, wipe the rims super clean with a damp cloth, pop on the lids, and screw them down just until they’re snug.

Water Bath Canning for Shelf-Stable Blackberry Jam
This step is key if you want your jam to last on the shelf. Get a big pot of water boiling. Carefully lower your filled jars into the boiling water, making sure they’re covered by at least an inch of water. Let them boil away for a good 10 minutes. Then, *carefully* lift them out (a jar lifter tool is your best friend here!) and place them on a towel or cooling rack. Let them do their thing and cool down completely, usually for 12-24 hours. You might even hear them “ping” as the lids seal shut – that’s the sound of success!
Tips for the Perfect Delightful Blackberry Jam
You know, reaching jam perfection is all about a few little tricks I’ve picked up over the years. First off, berry selection is HUGE! Go for the ripest, plumpest blackberries you can find. Seriously, the flavor starts there. If they’re a bit dull, the jam won’t sing. And don’t be afraid to tweak the sweetness after the sugar is dissolved; taste a tiny bit (carefully!) and see if you want more or less sugar. Oh, and a big pot isn’t just for show – it really helps prevent those messy boil-overs. Trust me, I’ve had them, and cleaning jam off your stovetop is NOT fun! I’ve also learned that sticking to that lemon juice measurement is super important for the texture, just like in this pastry recipe where getting the dough just right is key.
Storing and Reheating Your Delicious Blackberry Jam
So, you’ve got this gorgeous, glistening jar of blackberry jam! Now, how do you keep it perfect? If you’ve gone through the water bath canning process, your unopened jars are shelf-stable and can hang out in a cool, dark pantry for up to a year. Once you crack a jar open, though, it’s best to keep it in the fridge. It’ll stay wonderfully fresh for about 3-4 weeks that way. If you ever wanted to warm it up a little – maybe for a drizzle over ice cream – just pop a bit into a small saucepan over low heat. Stir it gently until it’s pourable. Easy!

Frequently Asked Questions About This Blackberry Jam Recipe
Got questions about this delightful blackberry jam? I get it! Making jam can bring up a quizzical eyebrow here and there. Let me clear up a few things for you:
Can I use frozen blackberries?
Absolutely! You can totally use frozen blackberries. Just make sure to measure them out frozen, and maybe add a couple of extra minutes to the simmering time since they’ll release more liquid as they thaw. They work just as beautifully, and it’s a great way to make jam when fresh berries aren’t in season. Think of it as all-year-round jam joy!
How do I know if my jam has set?
Ah, the million-dollar question for jam makers! The plate test is your best friend here. Chill a small plate in the freezer while your jam is simmering. When you think it’s ready, spoon a tiny bit onto the cold plate. Give it about 30 seconds to cool down. Then, gently push it with your finger. If the surface wrinkles up, it’s set! If it stays liquidy, give it another 5-10 minutes of simmering and test again. It’s better to be a little patient than to have runny jam, right? You don’t want a jam disaster like you might have with a delicate blueberry recipe!
What can I use instead of lemon juice?
Lemon juice is in there for a couple of reasons – it adds a bit of brightness and helps the pectin (the natural setting agent in fruit) do its job. If you absolutely can’t use lemon juice, you could try lime juice for a similar effect. Acetic acid is key to getting that set, so you need something acidic. Just be aware that different citrus might add a slightly different flavor note, but it should still work!
My jam seems a bit too thick, what happened?
Sometimes, if you simmer it a little too long or if your berries were particularly high in pectin, your jam can end up thicker than you’d like. Don’t fret! You can usually fix this by gently stirring in a tablespoon or two of water or even some fresh lemon juice over low heat until it reaches your desired consistency. It’s a small adjustment that can save the day, much like knowing the right temperature for baking!
Nutritional Information (Estimated)
Just so you know, the numbers can wiggle around a bit depending on exactly how sweet your berries are and how much sugar you end up using, but here’s a general idea of what you’re looking at for a tablespoon of this delightful blackberry jam. It’s mostly fruit and sugar, so naturally, there’s some sweetness!
- Calories: Around 50
- Sugar: About 12g
- Fat: 0g
- Carbohydrates: About 13g
- Protein: 0g
This is just an estimate, of course, but it gives you a good ballpark figure!
Share Your Sweet Mornings with Our Blackberry Jam!
So, you’ve whipped up a batch of this delightful blackberry jam, right? I’d absolutely LOVE to hear all about it! Did you slather it on some warm toast or maybe a fluffy scone? Did you try it on yogurt or something totally unique? Please, drop a comment below and tell me how it turned out for you! And if you really loved it, a little rating would be super encouraging. You can also share your jam-tastic creations over on social media – it’d be so fun to see! If you have any questions or just want to chat about all things jam, feel free to reach out using the contact page!
Print
Delightful Blackberry Jam
- Total Time: 45 min
- Yield: 3 cups 1x
- Diet: Vegetarian
Description
A simple recipe for homemade blackberry jam, perfect for spreading on toast or scones.
Ingredients
- 4 cups fresh blackberries
- 2 cups granulated sugar
- 1/4 cup lemon juice
Instructions
- Wash the blackberries and remove any stems.
- In a large pot, combine the blackberries, sugar, and lemon juice.
- Cook over medium heat, stirring occasionally, until the sugar dissolves.
- Bring the mixture to a boil, then reduce heat and simmer for 20-30 minutes, stirring frequently, until the jam thickens.
- Test for set by placing a small amount on a chilled plate; if it gels, it is ready.
- Ladle the hot jam into sterilized jars, leaving 1/4 inch headspace.
- Wipe rims clean and screw on lids.
- Process in a boiling water bath for 10 minutes.
- Remove jars and let them cool completely.
Notes
- Ensure your jars and lids are sterilized before filling.
- Adjust sugar to your preference.
- Prep Time: 15 min
- Cook Time: 30 min
- Category: Preserves
- Method: Stovetop
- Cuisine: American
Nutrition
- Serving Size: 1 tablespoon
- Calories: 50
- Sugar: 12g
- Sodium: 0mg
- Fat: 0g
- Saturated Fat: 0g
- Unsaturated Fat: 0g
- Trans Fat: 0g
- Carbohydrates: 13g
- Fiber: 1g
- Protein: 0g
- Cholesterol: 0mg
Keywords: blackberry jam, homemade jam, fruit preserves, sweet breakfast, easy jam recipe