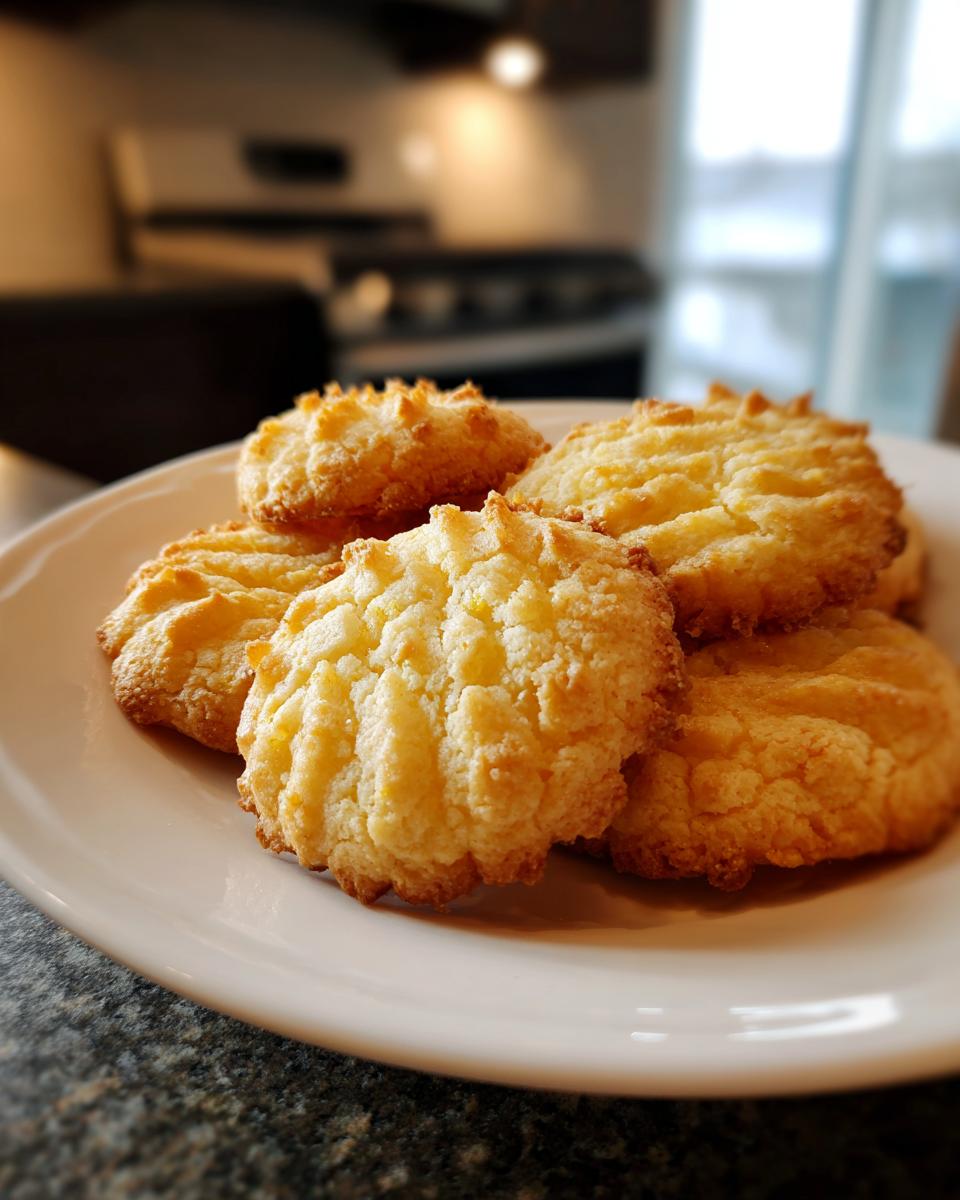
Oh goodness, I just *love* these Danish Butter Cookies. Seriously, they’re like little bites of pure happiness! My grandma used to make these all the time, and the smell of them baking would just fill the whole house. They’re so perfectly crisp and have that amazing, rich butter flavor that just melts in your mouth. If you’re looking for a classic cookie that’s surprisingly easy to whip up, these Danish Butter Cookies are absolutely it. I’ve been making them for years, and they never, ever disappoint!
Why You'll Love This Danish Butter Cookies Recipe
Seriously, you’re going to adore this recipe! Here’s why:
- Super Easy to Make: Even if you’re new to baking, these come together so quickly.
- Incredible Flavor: That rich, buttery taste is just heavenly.
- Perfectly Crisp Texture: They have that satisfying snap you expect.
- So Versatile: Great on their own or with your favorite coffee or tea.
Authentic Danish Butter Cookies Flavor
The secret is really in the butter! Using good quality butter makes all the difference. It gives these Danish Butter Cookies that signature melt-in-your-mouth texture and a deep, satisfying flavor that’s just pure comfort.
Essential Ingredients for Danish Butter Cookies
Okay, so to get that amazing Danish butter cookie taste, you really need to pay attention to your ingredients! First up, we’ve got 2 cups of all-purpose flour – just your standard stuff works great here. The star, of course, is 1 cup of unsalted butter, and you absolutely want it softened. Trust me, using a good quality European butter, like Plugra or Kerrygold, makes a HUGE difference. It gives them that extra richness and perfect texture. Then, you’ll need 3/4 cup of granulated sugar for sweetness. We also add 1 large egg for binding, and 1 teaspoon of vanilla extract to really boost that lovely flavor. Lastly, just a little 1/4 teaspoon of salt to balance everything out. It’s pretty simple, but these ingredients are key!
Ingredient Notes and Substitutions for Danish Butter Cookies
If you can’t find European butter, don’t sweat it! Any good quality unsalted butter will still give you delicious results. For those watching their sugar intake, you could try a sugar substitute, but it might change the texture a bit. If you need a gluten-free option, a good 1-to-1 gluten-free baking blend should work, though the cookies might be a tad more crumbly.
How to Prepare Perfect Danish Butter Cookies
Alright, let’s get baking these beauties! First things first, preheat your oven to 350°F (175°C). While that’s warming up, grab a baking sheet and line it with parchment paper. This is a lifesaver for cleanup, trust me! Now, in a nice big bowl, we’re going to cream together that softened butter and the granulated sugar. You want to beat them until they’re really light and fluffy – think pale yellow and airy. This step is super important for that tender texture.
Next, we’ll add in the large egg and the vanilla extract. Just mix those in until everything is nicely combined. Don’t worry if it looks a little different, it’s all coming together! In a separate bowl, quickly whisk together your flour and that pinch of salt. Now, here’s a little trick: gradually add the dry ingredients to the butter mixture. Mix it until it’s *just* combined. Seriously, don’t overmix here! Overmixing can make your cookies tough, and we definitely don’t want that.
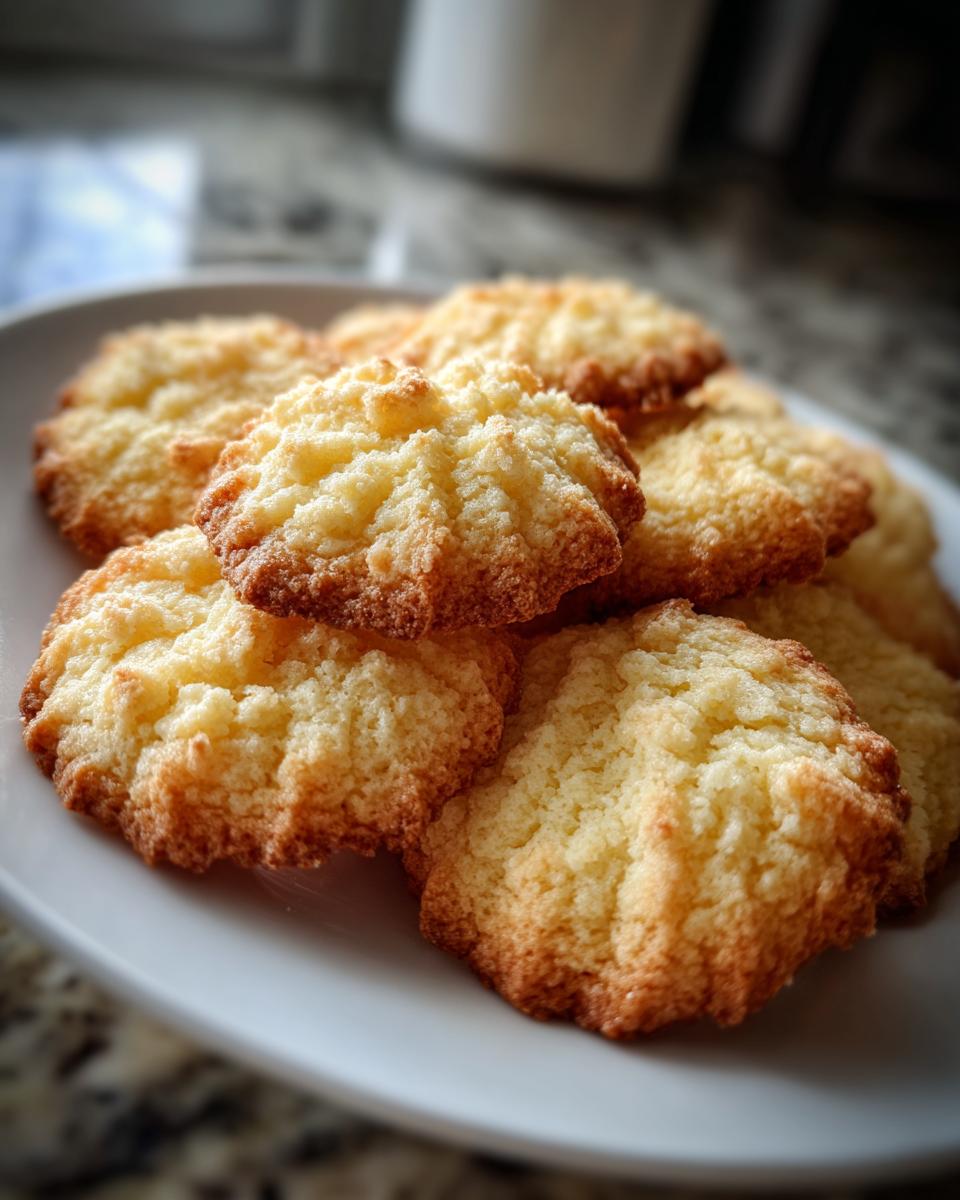
Once the dough is ready, it’s time for the fun part – shaping! You can roll the dough into little balls, shape them into logs, or if you have a cookie press, now’s the time to use it! Place your shaped cookies onto that prepared baking sheet. Give them a little space because they might spread just a tiny bit. Pop them into the oven and bake for about 10 to 12 minutes. You’re looking for them to be lightly golden around the edges. Keep an eye on them, as ovens can vary! Once they’re out, let them cool on the baking sheet for a few minutes – this helps them firm up – before carefully transferring them to a wire rack to cool completely. Patience here is key!
Tips for Success When Making Danish Butter Cookies
Want to make these Danish Butter Cookies absolutely perfect? Here are a few little secrets I’ve picked up! Make sure your butter is *just* softened, not melted. If it’s too soft, the cookies can spread too much. Chilling the dough for about 30 minutes before shaping makes it so much easier to handle, especially if you’re using a cookie press or rolling logs. Oh, and don’t overbake them! A little bit of golden color on the edges is all you need. They’ll continue to bake a bit on the hot pan once they come out of the oven.
Variations on Your Danish Butter Cookies
Want to jazz up these classic Danish Butter Cookies? You totally can! Try adding a tiny bit of almond extract along with the vanilla for a different twist. A pinch of cardamom or nutmeg in the dry ingredients is lovely, too. Before baking, you could press a small piece of candied cherry into the center of each cookie, or sprinkle them with coarse sugar for a little sparkle. Get creative!
Serving and Storage for Danish Butter Cookies
These Danish Butter Cookies are just divine with a hot cup of coffee or a nice cup of tea, don’t you think? They’re also lovely served with a small glass of milk for the kids. If you happen to have any leftovers – which is rare in my house! – you’ll want to store them properly to keep that perfect crispness. Just pop them into an airtight container. You can layer them between sheets of parchment paper if you’re worried about them sticking, but honestly, they usually disappear before that becomes an issue! They’ll stay nice and crisp at room temperature for a good week, maybe even longer if your container is really sealed tight.
Frequently Asked Questions About Danish Butter Cookies
Q1. Why are my Danish Butter Cookies spreading too much?
Usually, this happens if the butter is too soft or melted, or if the dough wasn’t chilled properly. Make sure your butter is softened, not melted, and pop the dough in the fridge for about 30 minutes before shaping. Also, try not to overmix the dough; that can make them spread too!
Q2. Can I use salted butter instead of unsalted butter?
You can, but it’s best to use unsalted butter for Danish Butter Cookies so you can control the saltiness. If you do use salted butter, just leave out the added salt in the recipe. The flavor might be a little different, but they’ll still be delicious!
Q3. How long should I bake these cookies?
You’re looking for them to be lightly golden around the edges, typically about 10-12 minutes. Ovens can be a bit finicky, so keep an eye on them, especially during the last few minutes. They should feel slightly firm to the touch when they’re done.
Q4. What’s the best way to store Danish Butter Cookies to keep them crisp?
The key is an airtight container! Make sure the cookies are completely cool before storing them. If you’re worried about them sticking together, you can place parchment paper between the layers. They should stay nice and crisp for about a week, maybe longer!
Q5. Can I add anything to the cookie dough for extra flavor?
Absolutely! Many people love adding a touch of almond extract instead of or with the vanilla. A little bit of lemon or orange zest also works wonderfully with the buttery flavor. Some folks even add a pinch of cardamom or nutmeg to the dry ingredients for a warm spice note.
Estimated Nutritional Information for Danish Butter Cookies
Just a heads-up, the nutritional info for these delicious Danish Butter Cookies is an estimate! It can totally change depending on the brands of butter and sugar you use, and even how big you make your cookies. So, treat these numbers as a general guide, not a strict rulebook!
Share Your Danish Butter Cookies Creations
I just love hearing from you all! If you make these Danish Butter Cookies, please, please share your experience! Did you try any fun variations? Did they turn out perfectly crisp? Drop a comment below and tell me all about it, or even better, share a picture! I can’t wait to see your delicious creations!
Print
Amazing Danish Butter Cookies: 10-12 Min Bake
- Total Time: 32 minutes
- Yield: 24 cookies 1x
- Diet: Vegetarian
Description
Classic Danish butter cookies, known for their rich buttery flavor and crisp texture. Perfect with coffee or tea.
Ingredients
- 2 cups all-purpose flour
- 1 cup unsalted butter, softened
- 3/4 cup granulated sugar
- 1 large egg
- 1 teaspoon vanilla extract
- 1/4 teaspoon salt
Instructions
- Cream together the softened butter and granulated sugar until light and fluffy.
- Beat in the egg and vanilla extract until well combined.
- In a separate bowl, whisk together the flour and salt.
- Gradually add the dry ingredients to the wet ingredients, mixing until just combined. Do not overmix.
- Shape the dough into small balls or logs, or use a cookie press.
- Place cookies on a baking sheet lined with parchment paper.
- Bake at 350°F (175°C) for 10-12 minutes, or until the edges are lightly golden.
- Let the cookies cool on the baking sheet for a few minutes before transferring them to a wire rack to cool completely.
Notes
- For a richer flavor, use high-quality European butter.
- Chill the dough for 30 minutes before shaping for easier handling.
- Decorate with a sprinkle of sugar or a cherry before baking.
- Prep Time: 20 minutes
- Cook Time: 12 minutes
- Category: Cookies
- Method: Baking
- Cuisine: Danish
Nutrition
- Serving Size: 1 cookie
- Calories: 150
- Sugar: 8g
- Sodium: 30mg
- Fat: 9g
- Saturated Fat: 5g
- Unsaturated Fat: 4g
- Trans Fat: 0g
- Carbohydrates: 15g
- Fiber: 0.5g
- Protein: 2g
- Cholesterol: 25mg
Keywords: Danish butter cookies, butter cookies, shortbread, traditional cookies, Scandinavian baking