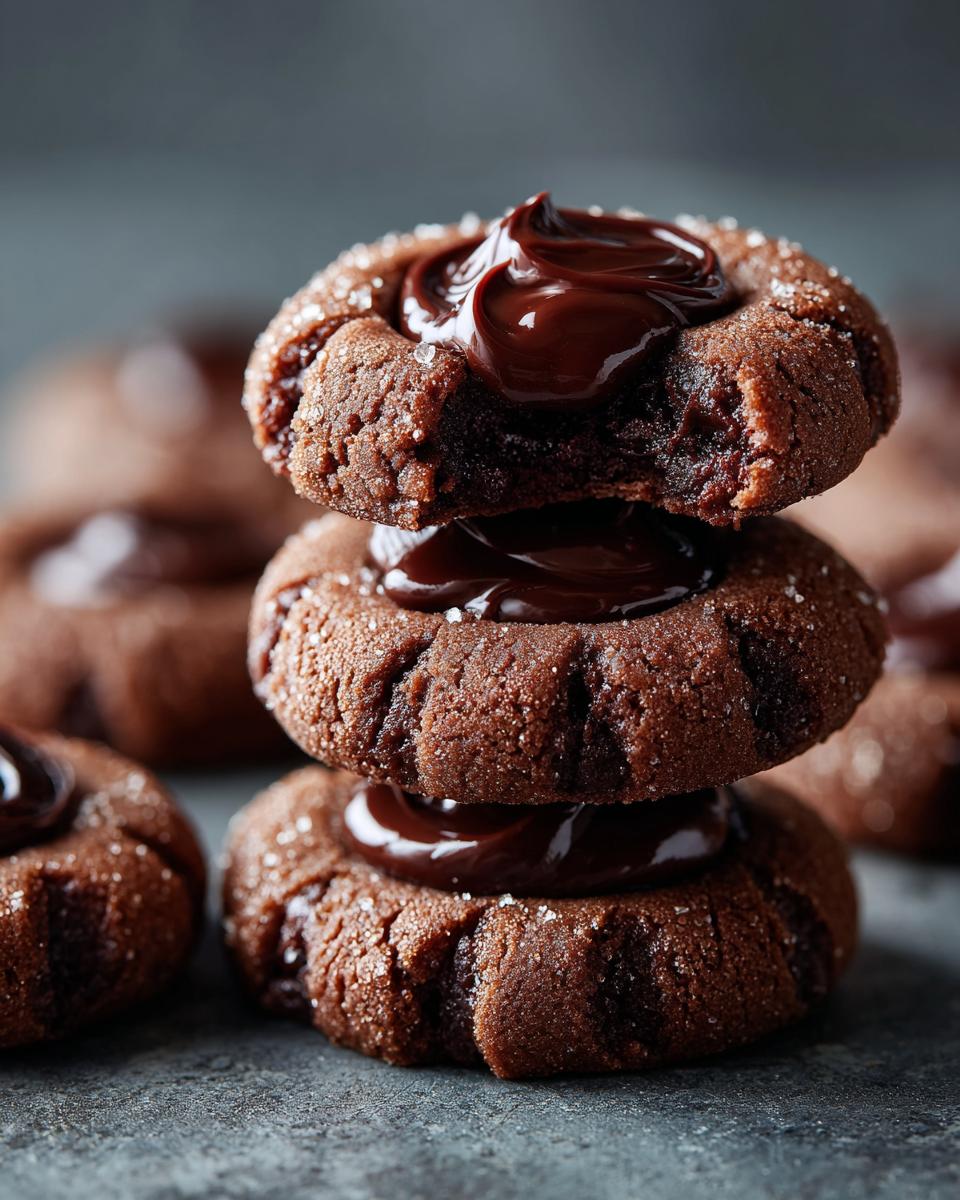
Oh, who can resist a perfectly chewy cookie, especially one that hugs a gooey center? Baking these Irresistible Chocolate Hazelnut Thumbprint Cookies always takes me back to my grandmother’s kitchen. She’d have a batch cooling on a wire rack, the scent of cocoa and sweet hazelnuts filling the air. There’s just something so magical about that simple thumbprint indentation, just begging to be filled with something decadent, right? This particular recipe is a winner because it’s honestly so straightforward but tastes like you spent hours fussing over it. They’re like little edible hugs, perfect for sharing (or not!).
Why You’ll Love This Irresistible Chocolate Hazelnut Thumbprint Cookies Recipe
Honestly, why wouldn’t you love these? They’re just ridiculously easy to whip up, even on a busy day. The chocolate cookie part is tender but has a great chew, and that hazelnut center? Pure magic! They look so elegant on a cookie platter, but don’t be fooled – they’re super simple. Plus, you can totally jazz them up with a dusting of powdered sugar or a few chopped nuts if you’re feeling fancy. They disappear fast, trust me!
Gather Your Ingredients for Irresistible Chocolate Hazelnut Thumbprint Cookies
Alright, let’s get our baking game faces on! For these amazing cookies, you’ll need to gather a few things. Make sure your butter is softened – this is super important for that lovely, creamy dough. We’re going to need:
- 1 cup unsalted butter, softened like a dream
- 1/2 cup granulated sugar
- 1/4 cup packed light brown sugar (gives it that extra depth!)
- 1 big, beautiful large egg
- 1 teaspoon vanilla extract (because, vanilla!)
- 2 cups all-purpose flour
- 1/2 cup unsweetened cocoa powder – use a good one!
- 1/2 teaspoon baking soda
- 1/4 teaspoon salt
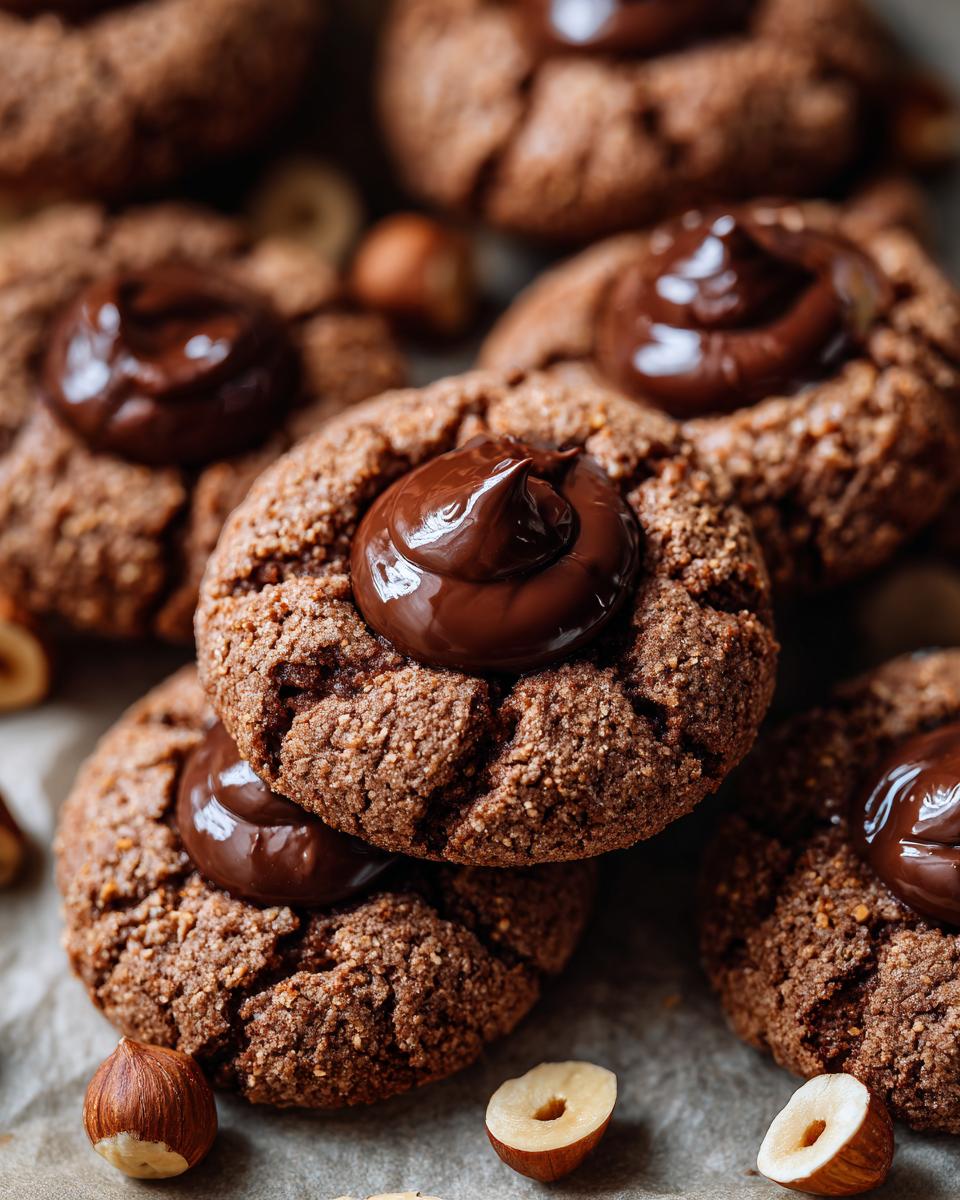
- And the star of the show: 1 cup of your favorite chocolate hazelnut spread
- If you’re feeling extra fancy, grab 1/4 cup chopped toasted hazelnuts to sprinkle on top!
Step-by-Step Guide to Making Irresistible Chocolate Hazelnut Thumbprint Cookies
Alright, let’s get these beauties into the oven! It’s easier than you think, really. Just follow along, and you’ll have a plate full of these delightful cookies in no time. Remember to preheat your oven to 350°F (175°C) and line a couple of baking sheets with parchment paper. That parchment paper is your best friend for easy cleanup, and it works wonderfully for all sorts of thumbprint cookies. You can check out these other coconut lemon curd thumbprint cookies for inspiration too!
Preparing the Cookie Dough
First things first, grab a big bowl. You want to cream together that softened butter with both the granulated and brown sugar until it’s all light and fluffy. Seriously, don’t rush this part; it makes all the difference! Then, beat in your egg and that lovely vanilla extract until it’s nice and smooth. In another bowl, give your flour, cocoa powder, baking soda, and salt a quick whisk together. Now, gradually add that dry stuff to your wet stuff. Mix until *just* combined – no more! Overmixing is the enemy of tender cookies, so stop as soon as you don’t see big streaks of flour.
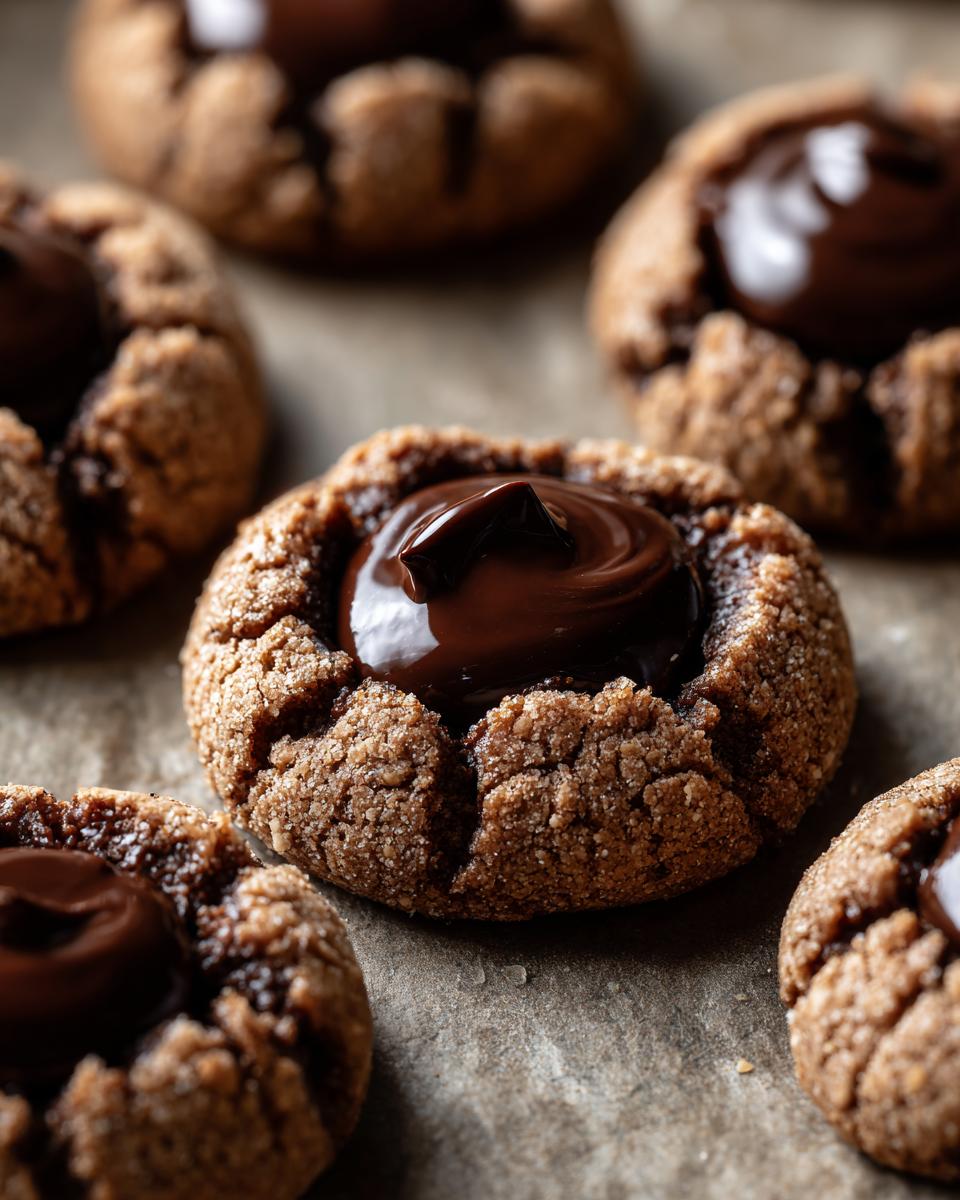
Forming and Filling the Thumbprints
Now for the fun part! Roll up your cookie dough into little 1-inch balls. Think about the size of a slightly larger walnut. Place them on your prepared baking sheets, giving them a little space – about 2 inches apart because they will spread a bit. Use your thumb (wash it first, obviously!) or the back of a tiny spoon to make a nice little indentation in the center of each cookie. Don’t go all the way through, just a good dip. Then, spoon about a teaspoon of that dreamy chocolate hazelnut spread into each little well. If you decided to add those chopped hazelnuts, sprinkle them right over the top now. They add a nice little crunch!
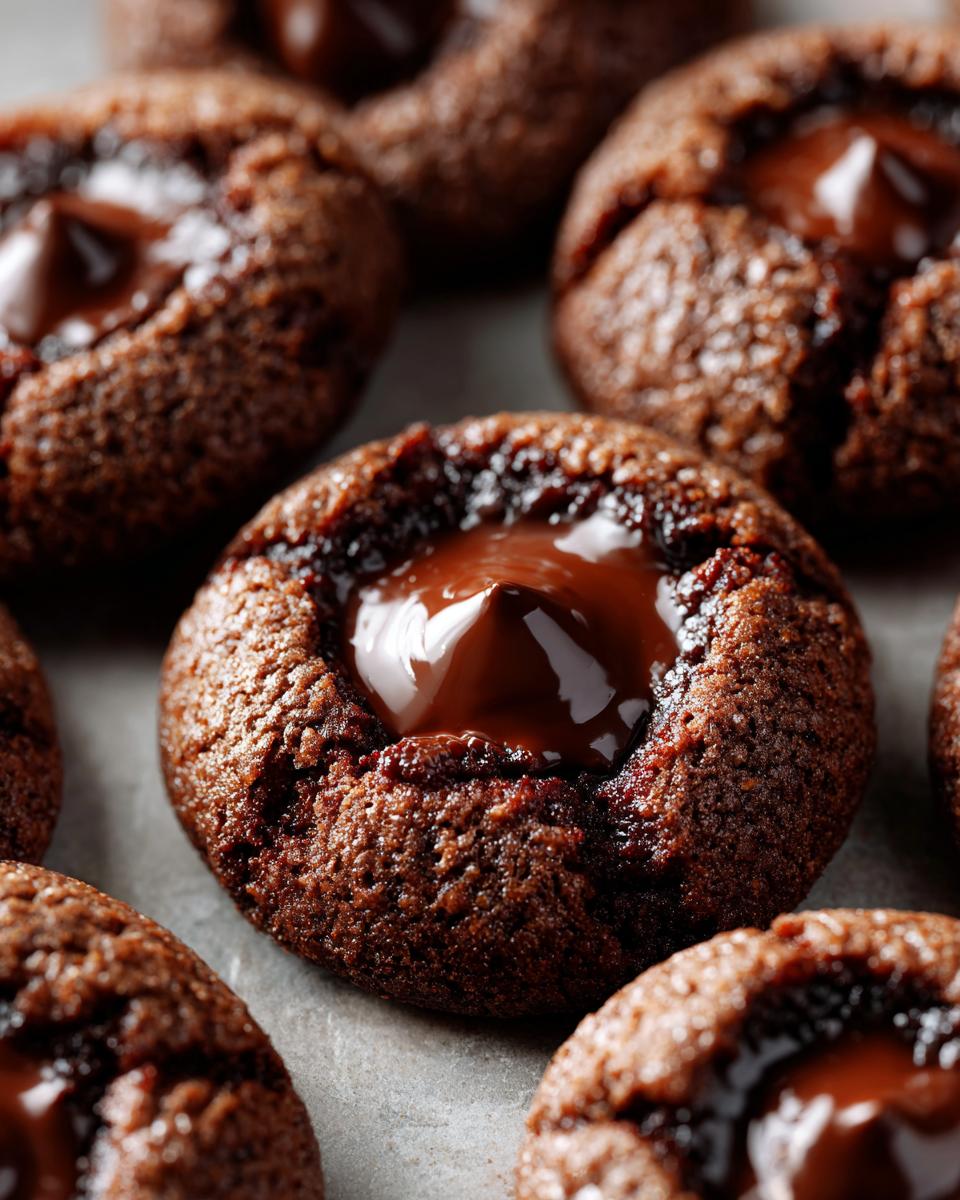
Baking and Cooling Your Irresistible Chocolate Hazelnut Thumbprint Cookies
Pop those cookie sheets into your preheated oven. You’ll want to bake them for about 10 to 12 minutes. Keep an eye on them! You’re looking for the edges to just start looking set, and the centers should still feel a little soft. They’ll firm up as they cool. Once they’re out, let them hang out on the baking sheets for a few minutes to set up a bit more. Then, carefully transfer them to a wire rack to cool completely. Trying to move them too soon is a recipe for a broken cookie oopsie!
Tips for Perfect Irresistible Chocolate Hazelnut Thumbprint Cookies
Okay, wanting these cookies to turn out *perfect* every single time? I’ve got a few little tricks up my sleeve! First off, that butter really needs to be softened, trust me on this. Not melted, mind you, but soft enough that you can easily leave an indent with your finger. This makes creaming it with the sugars so much easier, giving you that lovely light texture. Also, don’t overmix the dough once you add the flour – just mix until it’s combined. Overmixing makes cookies tough, and nobody wants a tough cookie! When you’re pressing the thumbprint, make it deep enough to hold that luscious filling, but not so deep you risk breaking the cookie. And for those hazelnut lovers out there, toasting them before chopping really bumps up the flavor, giving you an extra nutty punch. Want some more ideas for amazing cookie recipes? You might like these healthy cookies without flour and sugar!
Ingredient Notes and Substitutions for Your Chocolate Hazelnut Cookies
Let’s chat a little more about a few of these ingredients, because using the right stuff *really* makes a difference. That softened butter I mentioned? It’s pretty crucial for getting that light and fluffy dough. If your butter is too cold, it won’t cream properly, and if it’s melted, your cookies will spread way too much. Just leave it on the counter for about an hour before you start. When it comes to the cocoa powder, I find that a good quality unsweetened one works best to really get that deep chocolate flavor. If you don’t have chocolate hazelnut spread on hand, or if you want to try something different, a good quality peanut butter or even a thick almond butter would be tasty. Just know the flavor profile will change! And those chopped hazelnuts? Totally optional but they add a lovely texture and extra nutty goodness.
Storage and Make-Ahead Tips for Your Irresistible Chocolate Hazelnut Thumbprint Cookies
Got a batch of these amazing cookies and wondering how to keep them tasting fresh? It’s super simple! Once your cookies are completely cool – and I mean *completely* cool, or the filling might get melty – just pop them into an airtight container. They’ll stay delicious at room temperature for a good few days. If you want to get ahead of the game, you can totally make the dough and chill it in the fridge for up to two days before you bake. You can also freeze the unbaked cookie balls for up to three months!
Frequently Asked Questions about Chocolate Hazelnut Thumbprint Cookies
Got questions? I’ve got answers! Baking should be fun, not frustrating, so let’s clear up any little confusions you might have about these irresistible cookies. It’s less about complicated rules and more about just enjoying the process!
Can I use a different nut butter instead of chocolate hazelnut spread?
Absolutely! While the chocolate hazelnut flavor is what makes these extra special, you can totally swap it out. A good quality peanut butter, almond butter, or even a thick cashew butter would work beautifully. Just remember that the final taste will be different, but still wonderfully delicious. You might even find some amazing recipes for other fillings, like the ones for pionono, that you could adapt!
How do I stop my thumbprint cookies from spreading too much?
This is a common cookie conundrum! The biggest culprit is usually butter that’s too warm. Make sure your butter is softened, not melted. Also, chilling the dough for about 30 minutes before you roll and bake can make a huge difference. Chilled dough holds its shape much better. And remember, don’t overmix the dough once you add the flour – that develops gluten and can lead to spreading.
How long do these chocolate hazelnut cookies stay fresh?
These cookies are pretty sturdy and stay wonderfully moist for such a long time. Once they’re completely cooled, store them in an airtight container at room temperature. They’re usually at their best for about 3 to 5 days. Honestly, though, they rarely last that long in my house!
Can I freeze the dough or baked cookies?
Yes, you definitely can! If you want to freeze the dough, roll the balls and make the indentations (but don’t fill them yet!). Place them on a baking sheet, freeze until firm, then transfer to a freezer-safe bag or container for up to 3 months. To bake, just add them frozen to the oven and add a few extra minutes to the baking time. You can also freeze baked and cooled cookies in an airtight container.
Estimated Nutritional Information
Just a little heads-up that these numbers are estimates, you know? Every kitchen is a little different, and what you use can change things up. Based on the recipe, this counts for about 180 calories per cookie, with around 10g of fat and 20g of carbs. Remember, these are just ballpark figures – but they’ll give you a general idea!
Print
Irresistible Chocolate Hazelnut Thumbprint Cookies
- Total Time: 32 min
- Yield: 24 cookies 1x
- Diet: Vegetarian
Description
A simple recipe for delicious chocolate hazelnut thumbprint cookies.
Ingredients
- 1 cup unsalted butter, softened
- 1/2 cup granulated sugar
- 1/4 cup packed light brown sugar
- 1 large egg
- 1 teaspoon vanilla extract
- 2 cups all-purpose flour
- 1/2 cup unsweetened cocoa powder
- 1/2 teaspoon baking soda
- 1/4 teaspoon salt
- 1 cup chocolate hazelnut spread
- 1/4 cup chopped toasted hazelnuts (optional)
Instructions
- Preheat your oven to 350°F (175°C). Line baking sheets with parchment paper.
- In a large bowl, cream together the softened butter, granulated sugar, and brown sugar until light and fluffy.
- Beat in the egg and vanilla extract until well combined.
- In a separate bowl, whisk together the flour, cocoa powder, baking soda, and salt.
- Gradually add the dry ingredients to the wet ingredients, mixing until just combined. Do not overmix.
- Roll the dough into 1-inch balls and place them on the prepared baking sheets, about 2 inches apart.
- Use your thumb or the back of a small spoon to create an indentation in the center of each cookie.
- Fill each indentation with about 1 teaspoon of chocolate hazelnut spread.
- If using, sprinkle the chopped toasted hazelnuts over the top of the cookies.
- Bake for 10-12 minutes, or until the edges are set and the centers are still slightly soft.
- Let the cookies cool on the baking sheets for a few minutes before transferring them to a wire rack to cool completely.
Notes
- Ensure your butter is truly softened for the best cookie texture.
- For a richer hazelnut flavor, toast your hazelnuts before chopping.
- Store cooled cookies in an airtight container at room temperature.
- Prep Time: 20 min
- Cook Time: 12 min
- Category: Dessert
- Method: Baking
- Cuisine: American
Nutrition
- Serving Size: 1 cookie
- Calories: 180
- Sugar: 15g
- Sodium: 40mg
- Fat: 10g
- Saturated Fat: 5g
- Unsaturated Fat: 5g
- Trans Fat: 0g
- Carbohydrates: 20g
- Fiber: 1g
- Protein: 2g
- Cholesterol: 25mg
Keywords: chocolate hazelnut cookies, thumbprint cookies, easy cookie recipe, holiday cookies, dessert recipe